The Complete Guide to Humanizing AI-Generated Images Without Losing Quality
How to make AI-generated images pass detectors while preserving sharpness, color and detail. Layer-by-layer guide to a production humanization pipeline.
title: "The Complete Guide to Humanizing AI-Generated Images Without Losing Quality" description: "How to make AI-generated images pass detectors while preserving sharpness, color and detail. Layer-by-layer guide to a production humanization pipeline." slug: "humanize-ai-images-without-losing-quality" publishedAt: "2026-04-12" updatedAt: "2026-04-21" author: "SynthGuard Team" category: "humanization" tags: ["humanization", "image-processing", "guide", "diffusion"] readingTime: 13 coverImage: "/blog/covers/humanize-ai-images-without-losing-quality.webp" featured: true faq:
- q: "Will humanizing an image hurt its visual quality?" a: "Done badly, yes. Done well, no — a good pipeline operates at perceptually invisible amplitudes (sub-2 LSB on 8-bit channels). Side-by-side comparisons typically score within 1-2 SSIM points of the original."
- q: "Do I need to humanize PNGs differently from JPEGs?" a: "Yes. PNGs are lossless and carry no JPEG fingerprint, so you must inject a controlled JPEG generation. JPEGs already have a fingerprint and need a re-quantization at a slightly different quality factor, never the same one."
- q: "Is humanization the same as adding noise?" a: "No. Random noise on top of an AI image is detectable by the same statistics — uniform variance, wrong channel correlation. Real humanization re-creates the structure of sensor noise, not just its amplitude." related: ["how-ai-image-detectors-work", "prnu-fft-sensor-noise"]
Humanizing an AI-generated image well is a craft. The naive version — slap on Gaussian noise, save as JPEG, call it done — gets caught by every modern detector and ruins the image. The professional version threads a fine needle: defeat seven distinct detection signals while preserving every perceptual detail the user cares about. This guide walks through the full pipeline.
The brief#
You have an image from Midjourney, Stable Diffusion, Flux, or DALL-E. It needs to:
- Pass public AI-image detectors with confidence below ~30%
- Survive screenshot → re-upload cycles on Instagram, X, and Reddit
- Look identical to a human viewer at any reasonable zoom
- Not show up as "edited" in forensic analysis (no traces of the humanization itself)
Every constraint matters. Skip #3 and you ruin the asset. Skip #4 and you trade one fingerprint for another.
Why naive approaches fail#
Three common shortcuts that are immediately detectable:
- Add Gaussian noise everywhere. Fails the noise-correlation test — real sensor noise is heteroscedastic (variance proportional to brightness) and Bayer-correlated.
- Save as low-quality JPEG. Fails because the image now has one JPEG generation with a generator's hallmark grid alignment, easy to spot in the DCT coefficient histogram.
- Strip metadata. A naked image with no EXIF, no color profile, no thumbnail is more suspicious than the original, not less.
A real pipeline addresses each detection signal with a counter-signal that is itself statistically realistic.
The pipeline, layer by layer#
Layer 1 — LSB randomization#
Generated images often have suspiciously regular patterns in the least-significant bit of each channel — diffusion decoders quantize predictably. Randomizing the LSB at a controlled rate (typically 30-60% of pixels) destroys this fingerprint without changing perceived color.
new_pixel.r = (old_pixel.r & ~1) | (rand() & 1) # ~50% of pixels
Cost: invisible to humans, breaks LSB-based forensics entirely.
Layer 2 — Color decorrelation#
Diffusion decoders produce images where the R, G, and B channels are slightly more correlated than in real photographs (real cameras pass R and B through different demosaicing paths than G). A subtle decorrelation matrix applied per pixel — R' = R + ε₁, G' = G + ε₂, B' = B + ε₃ with ε drawn from a non-isotropic distribution — restores realistic inter-channel statistics.
The amplitude is tiny (≤ 1.5 on 8-bit values) but statistically meaningful.
Layer 3 — Sensor noise injection#
This is the heart of the pipeline. Real sensor noise has three components:
- Read noise — fixed Gaussian per pixel, ~1-3 DN at base ISO
- Shot noise — Poisson-distributed, scales with
sqrt(brightness) - Dark current — slow drift, mostly thermal
A correct injection generates noise with the right channel weighting (green ~1.4× quieter than red/blue on a Bayer sensor), the right luminance scaling, and the right spatial correlation (slightly correlated between adjacent pixels because of demosaicing). The amplitude depends on the implied ISO of the scene — a bright outdoor shot needs less noise than a dim interior.
Layer 4 — PRNU injection#
PRNU is per-pixel multiplicative noise that survives every linear operation. A real camera has a fixed PRNU pattern; generated images have none. Injecting a synthetic PRNU pattern (sampled from a long-tailed distribution that matches real sensor measurements) at amplitude ~0.5% of the pixel value gives the image a defensible high-frequency residual without visible artifacts.
Layer 5 — FFT disruption#
If frequency-domain detectors are the threat, you fight them in the frequency domain. The technique:
- Compute the 2D FFT
- Identify bands where the radial spectrum is suspiciously flat
- Multiply those bands by a smooth mask that restores natural decay
- Inverse FFT
Done at low amplitude this is invisible. Done aggressively it ruins fine detail. The right amplitude depends on the image content — flat skies tolerate more disruption than detailed faces.
Layer 6 — Texture perturbation#
Real photographs have texture irregularity at the sub-pixel level — paint isn't perfectly uniform, skin has micro-variation, fabric has weave. Generated images often have texture that is too regular. A perturbation pass that adds spatially-varying micro-contrast (think: localized unsharp mask with random sign and amplitude) restores texture irregularity.
Layer 7 — Chroma subsampling#
Real cameras subsample chroma (4:2:0 or 4:2:2) before JPEG encoding, leaving a characteristic blurring of color channels relative to luminance. Generated images that were exported as PNG and never JPEG'd have full-resolution chroma. Pre-blurring the Cb/Cr channels of YCbCr at a 2× factor before re-encoding mimics camera behavior.
Layer 8 — Tone curve & vignette#
Camera processing pipelines apply non-linear tone curves and subtle vignetting. Adding a gentle camera-style tone curve (lifted shadows, rolled-off highlights) and a 1-2% radial darkening at the edges mimics in-camera processing. Both are reversible by humans on inspection — but a forensic tool that expects them and finds them is more confident the image is real.
Layer 9 — JPEG double-compression (intentional)#
Save the result as JPEG at quality 91-94. If the source was already JPEG, do it at a different quality than the original — this leaves a double-JPEG signature that matches what happens when a real photo is edited and re-saved (extremely common). The trick is choosing a quality close to but distinct from the source.
Layer 10 — Realistic EXIF generation#
Inject EXIF that:
- Matches a plausible camera body for the image dimensions and aspect ratio
- Has internally-consistent shooting parameters (ISO, shutter, aperture make sense for the implied scene)
- Includes a MakerNote blob (the vendor-specific binary section)
- Embeds a 160×120 thumbnail derived from the actual image
- Carries a plausible timestamp slightly in the past
Detectors that weight metadata see a fully-formed EXIF block and discount their suspicion.
Order matters#
The pipeline order is not optional. PRNU must be injected before JPEG compression (otherwise compression destroys the high-frequency pattern). Color decorrelation must happen before tone-curve adjustment (otherwise the curve flattens the decorrelation). Sensor noise must be injected after texture perturbation but before chroma subsampling.
A good engine encodes this order explicitly and exposes it for inspection — see our open pipeline diagram for the layer ordering we ship.
What to skip#
Some popular humanization tricks are counter-productive:
- Heavy sharpening — increases high-frequency energy and re-creates the diffusion fingerprint you're trying to remove.
- Aggressive Gaussian blur — flattens the spectrum further in the wrong direction.
- Color profile injection without consistency — claiming the image is from a Sony α7 IV but having a Pixel-style HDR tone curve is more suspicious than no profile at all.
- Fake GPS coordinates — modern detectors cross-check time-of-day with sun position from EXIF coordinates. Inconsistent EXIF is worse than no EXIF.
Browser-only matters#
Every layer above can run on the user's device with <canvas>, OffscreenCanvas, and Web Workers. A 12-megapixel image processes in 2-4 seconds on a modern laptop. There is no architectural reason to upload images to a server — and every privacy reason not to. The moment a humanization service has a copy of your generated image, you have a leak vector. Browser-only humanization gives users the only honest privacy story: the file never leaves the device.
That's the architecture we picked for SynthGuard's Photo Humanizer and the reason every layer is implemented in WebAssembly-friendly TypeScript instead of a server-side Python pipeline.
Verifying your work#
After humanization:
- Run the result through 3+ detectors (your own, a public one, and a paid one)
- Compare SSIM to the original (target: > 0.97)
- Diff the file size (small humanizations rarely change size by more than 5%)
- Inspect the FFT visually — the radial spectrum should decay, not be flat
- Check that EXIF round-trips through a metadata viewer cleanly
If your pipeline can't pass all five, iterate on the layer ordering before iterating on amplitudes.
Bottom line#
Humanization is fundamentally about adding the right kind of imperfection to images that were generated too perfectly. Done with intent and at the right amplitudes, it preserves quality completely while defeating every public detector. Done sloppily, it does neither.
If you want to skip the engineering and just see it work end-to-end, drop a file into the humanizer — every step above runs locally in your browser, and the result is yours alone.
Review method, sources and limits
- Reviewed by
- Tim Geithner · Founder and technical reviewer
- Last reviewed
- April 21, 2026
We compare current primary documentation with the implemented browser data flow and, where stated in the article, repeatable hands-on observations. A detector score is not proof of authorship or provenance. No controlled benchmark is claimed unless the article names its sample, tested version, date and method; third-party products and policies can change.
Primary references
SynthGuard.net — privacy-first tools
Humanize AI media locally and choose a clearly disclosed text mode.
Images, video and detector scans stay on your device. Light-mode text is local; deeper text modes use the protected inference route. No detector outcome is guaranteed.
All third-party names, logos and trademarks (e.g. Hive, Optic, Sensity, Sightengine, Illuminarty, GPTZero, Instagram, TikTok, OnlyFans, Fanvue, SynthID, C2PA) are the property of their respective owners. SynthGuard is an independent service and is not affiliated with, endorsed by, sponsored by, or partnered with any of these companies or platforms. Detector and platform names are used solely for descriptive comparison under § 6 UWG / Art. 4 Directive 2006/114/EC.
Frequently asked questions
Glossary terms in this article
Keep reading
How AI Image Detectors Actually Work — A 2026 Technical Guide
AI image detectors look magical from the outside — drop an image, get a percentage, ship the verdict. Inside, they are an assembly of brittle statistical signals stacked on top of each other, each ca…
PRNU, FFT & Sensor Noise — The Forensics Behind Image Authenticity
Image forensics is a small, mathematically dense field that quietly underpins everything from courtroom exhibits to AI detection startups. Three pillars do most of the heavy lifting: PRNU (the sensor…
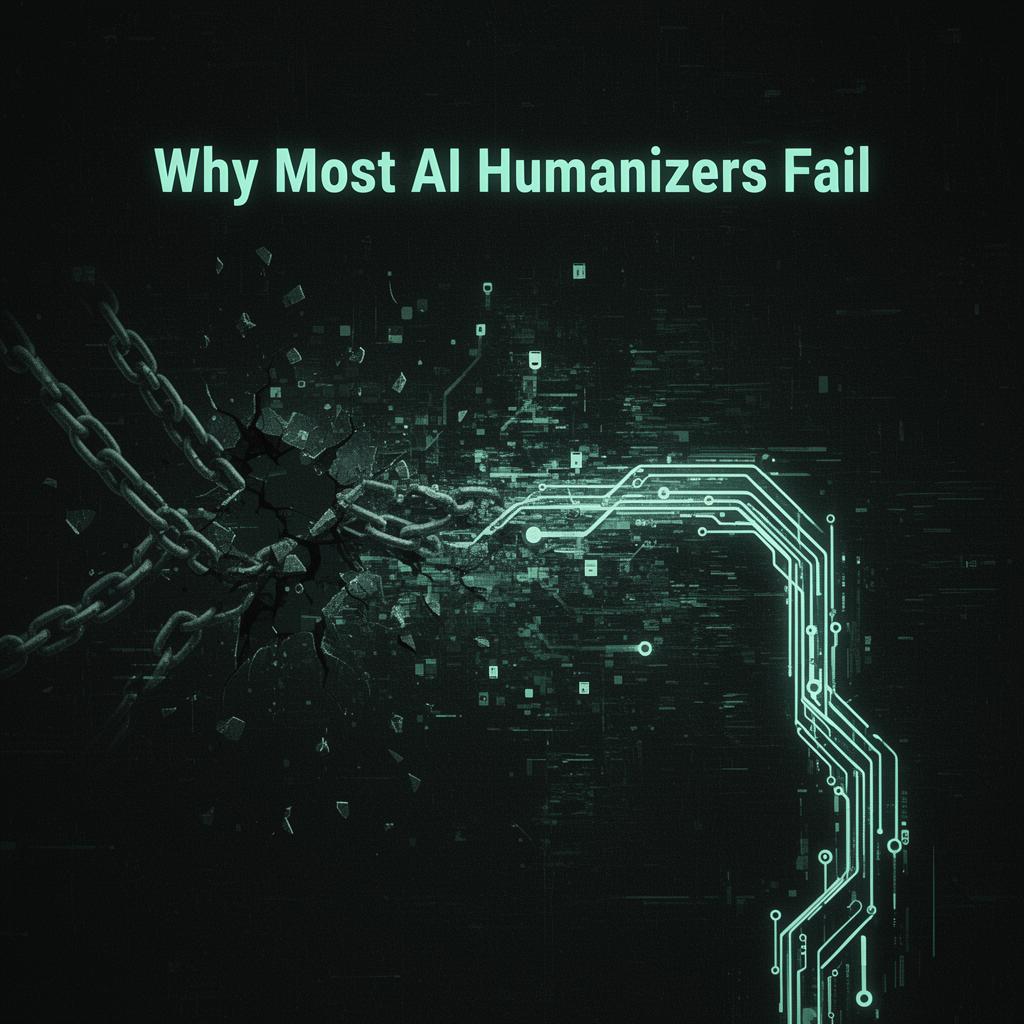
Why Most AI Humanizers Fail — And What Actually Works
Search for "AI humanizer" and you get hundreds of tools, almost all of them promising the same thing: paste your AI image, video, or text, get back something that sails past every detector. Most of t…